Window tint serves multiple purposes. It reduces glare, protects interiors, and offers privacy. However, over time, it may fade, bubble, or peel. Some tint may even violate local laws, forcing to remove tint from car windows.
Many people worry about damaging their windows or leaving behind sticky residue. Others fear scratching the glass or ruining defroster lines. The good news? With patience and the right tools, you can remove window tint without causing harm.
This guide covers:
- DIY methods, including steam, heat, and ammonia-based removal.
- Alternative techniques for tougher tints.
- Professional tint removal, when DIY isn’t an option.
Let’s dive into how you can safely and effectively remove window tint from your vehicle.
Why You Might Need to Remove Window Tint
Window tint may seem like a long-term upgrade, but there are times when removing it becomes necessary. Whether for legal reasons, personal preference, or damage, keeping old or faulty tint on your vehicle can lead to visibility issues, fines, or an untidy look. Below, we explore some of the main reasons why you might need to strip off that old film.
1. Fading or Bubbling of the Tint
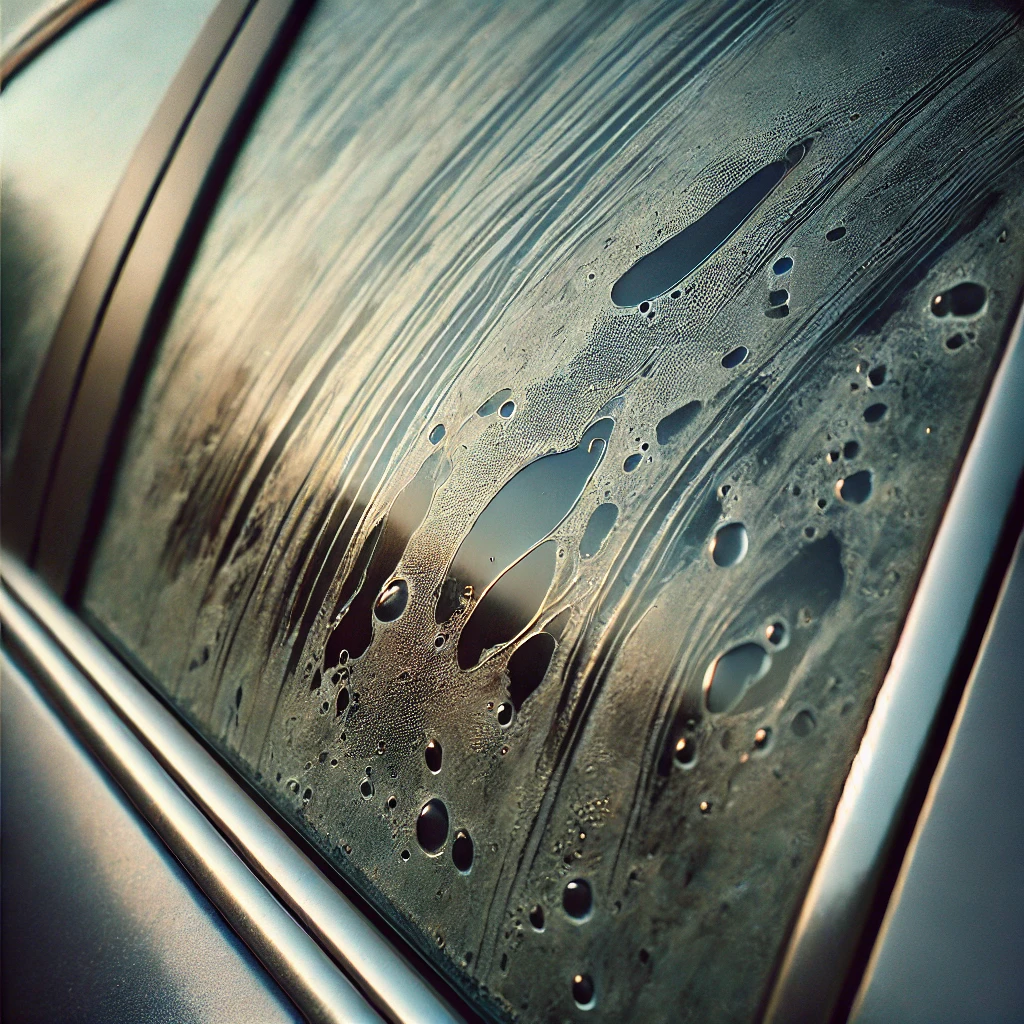
Over time, window tint deteriorates. Sun exposure, heat, and moisture can cause the film to fade, turn purple, or develop bubbles.
- Fading: Older tints often lose their original colour. This is common with non-ceramic or dyed tints, which are less resistant to UV rays. A faded tint not only looks unattractive but also loses its ability to block sunlight.
- Bubbling: Air pockets trapped between the glass and the film can form bubbles. This happens when the adhesive breaks down due to heat, moisture, or improper installation. These bubbles can distort vision, making driving unsafe.
Expert Tip: If your tint is bubbling, don’t poke or press on it. This won’t fix the issue and may worsen it. Instead, remove it properly to prevent damage to the defroster lines on your rear window.
2. Legal Issues with Overly Dark Tint
Many regions have laws regulating window tint darkness. If your tint is too dark, you could face fines, failed vehicle inspections, or even be required to remove it on the spot.
Understanding Tint Laws
Tint laws vary, but most places set a minimum Visible Light Transmission (VLT%) for each window:
| Window | Legal VLT Range (Typical) |
|---|---|
| Front Side Windows | 35%-50% |
| Rear Side Windows | 20%-35% |
| Rear Windshield | 20%-35% |
| Windshield (Top Strip) | 5%-15% |
Note: Always check your local regulations before getting a tint applied. Laws differ by country, state, and even city.
If you’ve bought a used car with illegal tint or recently moved to a new area with stricter tint laws, removing or replacing the tint may be necessary to comply with legal requirements.
3. Preference for a Different Tint or No Tint at All
Not everyone likes tinted windows. Over time, you may decide to switch to a lighter tint, remove it entirely, or upgrade to a better-quality film.
Common Reasons for Changing Tint
- Visibility Concerns: Dark tints reduce visibility, especially at night or in bad weather. Some drivers struggle to see pedestrians or road signs clearly.
- Aesthetic Preferences: Trends change. Some people prefer a clear, factory-fresh look, while others may want a lighter, ceramic tint that blocks heat but remains nearly invisible.
- New Tint Technologies: Older tint films may not offer infrared heat rejection or UV protection like modern ceramic or carbon-based films.
Personal Experience: I once had a customer who removed his tint after moving to a city with frequent fog. The dark tint made it harder to see in low visibility conditions, leading to a near-miss on the road. Once removed, he felt much safer driving.
4. Damage from Poor Installation
Bad tint jobs are frustrating. If the film was applied incorrectly, it can lead to peeling, uneven edges, and trapped dirt or dust. This affects both appearance and function.
Signs of a Poor Tint Job
✅ Edges not sealed properly – Tint begins to lift or peel.
✅ Trapped dust or dirt – Small particles cause uneven surfaces.
✅ Overlapping film – A rushed job might leave visible seams instead of a smooth finish.
A poorly installed tint not only looks bad but can also obstruct your view. In such cases, removing it is often the best choice.
Essential Tools and Supplies for Removing Window Tint
Removing window tint requires the right tools. Using the wrong method can damage your windows or leave stubborn adhesive behind. Below is a list of essential tools that will make the process easier, followed by expert advice on how to use them effectively.
🛠️ Must-Have Tools for Window Tint Removal
1. Steamer (or Alternatives Like a Heat Gun or Hair Dryer)
A steamer is one of the best tools for removing window tint. It softens the adhesive, making it easier to peel off the tint without leaving a mess. A professional-grade steamer works best, but a clothing steamer can also do the job.
How to Use a Steamer:
- Fill the steamer with water and turn it on.
- Hold it a few inches away from the tint.
- Slowly move it across the surface, allowing the steam to penetrate.
- Once the edges start lifting, gently peel the tint away.
Expert Tip: Avoid holding the steamer in one spot for too long. Excess heat may weaken the window glass.
If a steamer is unavailable, a heat gun or a hair dryer can be used instead. These tools work similarly by warming up the adhesive. However, they require more caution, as direct heat can damage the defroster lines.
Using a Heat Gun or Hair Dryer:
- Set the heat to low or medium.
- Move the tool back and forth over the tint.
- When the edges loosen, carefully lift and pull the tint away.
2. Razor Blade or Plastic Scraper
A razor blade helps lift the tint at the edges, making peeling easier. However, it must be used carefully to avoid scratching the glass. If you are uncomfortable using a razor blade, a plastic scraper is a safer alternative.
Using a Razor Blade or Scraper:
- Hold the blade at a slight angle.
- Start at a corner and gently slide the blade under the tint.
- Avoid applying too much pressure to prevent scratches.
Expert Advice: Always use a fresh razor blade. A dull blade can damage the glass by dragging rather than cutting through the tint.
For rear windows with defroster lines, avoid razor blades. Instead, stick to steam or soapy water to loosen the tint.
3. Ammonia Solution and Soap
Ammonia is highly effective for breaking down window tint adhesive. It works best when combined with soap and left to sit for a few hours.
How to Prepare and Use an Ammonia Solution:
- Mix equal parts of ammonia and soapy water in a spray bottle.
- Spray the solution generously on the tint.
- Cover the window with plastic wrap to trap the moisture.
- Let it sit for 1 to 2 hours before peeling.
Safety Tip: Only use ammonia in a well-ventilated area. Avoid inhaling fumes and wear gloves to protect your hands.
If ammonia is not an option, a soapy water solution can also help. It won’t break down the adhesive as quickly, but it provides extra lubrication when scraping.
4. Adhesive Remover
Even after peeling off the tint, glue residue often remains. A strong adhesive remover helps dissolve the leftover stickiness, making the final cleaning process much easier.
How to Use Adhesive Remover:
- Apply a small amount to a microfiber cloth.
- Rub the affected area gently in circular motions.
- Let it sit for a minute before wiping clean.
Common adhesive removers include:
- Isopropyl alcohol (rubbing alcohol)
- Goo Gone
- Citrus-based removers
Expert Insight: If adhesive remover is unavailable, a mix of warm water and dish soap can also work, but it may take longer.
5. Microfiber Cloths and Gloves
A microfiber cloth is essential for the final cleaning process. It helps remove any remaining adhesive without scratching the glass. Gloves protect your hands from harsh chemicals.
Why Microfiber Cloths Are Best:
- They trap dust and glue particles effectively.
- They don’t leave lint behind, unlike paper towels.
- They are reusable and washable.
Pro Tip: Always wipe the window dry after cleaning to prevent streaks.
🔎 Quick Comparison of Window Tint Removal Tools
| Tool | Best For | Caution |
|---|---|---|
| Steamer | Loosening adhesive safely | Avoid overheating |
| Heat Gun/Hair Dryer | Heating adhesive for peeling | Keep moving to prevent damage |
| Razor Blade | Lifting tint edges | Risk of scratching glass |
| Ammonia Solution | Breaking down glue | Use in ventilated areas |
| Adhesive Remover | Cleaning sticky residue | Test on a small area first |
How to Remove Window Tint from Your Vehicle: A Step-by-Step Guide
Removing old window tint might seem tricky, but with the right method, it’s a straightforward task. Whether your tint is peeling, bubbling, or just outdated, following these simple steps will help you remove it safely without damaging your car windows or defroster lines.
Step 1: Roll Down the Window Slightly
Before peeling off the tint, roll the window down slightly. This exposes the top edge of the tint, making it easier to lift without leaving jagged pieces stuck to the glass.
Why This Step Matters
- Better grip on the tint – You get access to the top edge.
- Prevents tearing – Tint film is easier to remove in one piece.
- Avoids leaving residue – Reduces the risk of small stuck bits.
Many people skip this step and end up struggling with tiny leftover edges. That’s why professionals always begin by rolling the window down slightly before peeling.
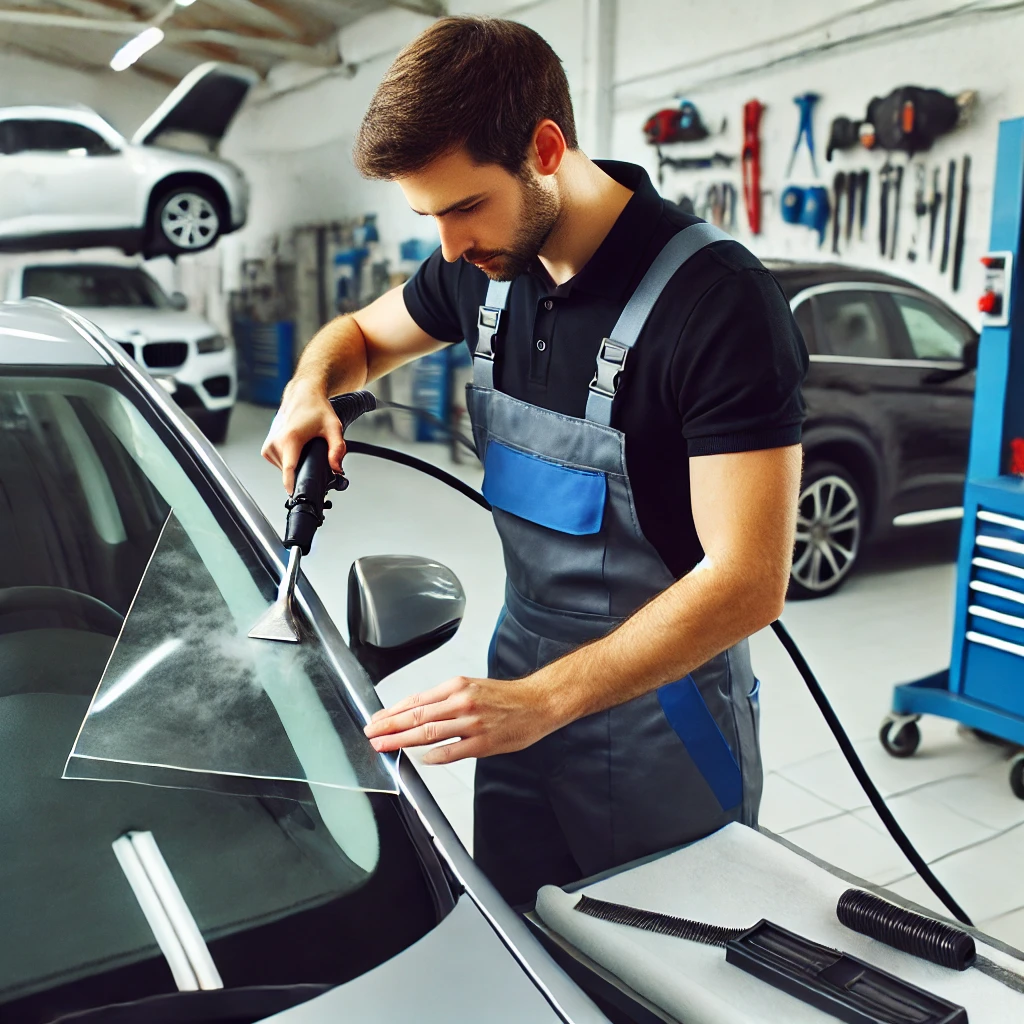
Step 2: Use a Steamer (Recommended Method)
A steamer is the best way to remove window tint without damage. It softens the adhesive underneath the film, making peeling much easier.
How Steam Loosens Adhesive
- Heat weakens the glue, making the tint easier to pull off.
- Moisture prevents tearing, helping remove the film in one piece.
- Less scraping required, reducing the risk of scratches.
Step-by-Step Instructions for Steaming and Peeling
- Plug in the steamer and let it heat up.
- Hold the steamer close to the tint, moving it slowly across the surface.
- Focus on one corner and heat it for at least 1–2 minutes.
- Use a razor blade to lift a small section of the tint.
- Continue steaming while pulling the tint off gently and evenly.
Alternative: Using a Clothing Steamer
If a professional steamer isn’t available, a clothing steamer works too. It might take a little longer, but the method remains the same. Keep the steam close to the glass and move slowly to allow the heat to do the work.
Expert Tip: Always start with low heat and increase gradually. Too much heat at once can crack the glass, especially in colder temperatures.
Step 3: Start Peeling the Tint Carefully
Once the adhesive has softened, begin peeling the tint from the corner. A razor blade or plastic scraper can help lift the edge, but it’s important to go slow to avoid tearing.
Using a Razor Blade Safely
- Hold the blade at an angle to avoid scratching the glass.
- Use small, gentle strokes to lift the tint.
- Work from the edges inward for better control.
Why Slow and Steady Wins
- Fast pulling leads to rips, leaving annoying bits behind.
- Prevents sticky mess, making cleanup easier.
- Protects defroster lines, which can be damaged by rough removal.
If the tint starts to tear, pause and reheat the area before continuing. Rushing through this step is one of the biggest mistakes people make when removing tint.
Personal Experience: I once tried removing tint without steaming it first. The film kept tearing, and I ended up spending an extra two hours scraping off tiny leftover pieces. Lesson learned: Always soften the adhesive first.
Step 4: Slowly Pull Off the Tint
Now that the tint is lifted, pull it off carefully and evenly. A smooth, steady pull ensures the film stays intact, making the process much easier.
Best Technique for Pulling the Tint
- Use both hands for an even grip.
- Peel at a 45-degree angle rather than straight up.
- Keep applying heat as you go to prevent tearing.
How to Avoid Tearing
If the tint rips or gets stuck:
✔ Stop pulling and apply more steam to the area.
✔ Use a plastic scraper to loosen tricky spots.
✔ Don’t rush—patience makes the job much cleaner.
Protecting the Defroster
Rear window defrosters can be damaged easily if the tint is pulled off incorrectly. To avoid this:
- Use a slow, controlled motion instead of yanking.
- Don’t use a razor blade on rear windows—stick to plastic scrapers.
- Keep steam concentrated on tough areas to soften glue.
Expert Insight: Many people don’t realise that rear defroster lines are delicate. Once damaged, they can’t be repaired easily. Taking your time saves money in the long run.
Step 5: Remove Leftover Glue Residue
After peeling off the tint, you’ll likely see some glue residue left behind. If not cleaned properly, it can make windows look foggy and attract dirt.
Best Ways to Remove Residue
1. Adhesive Remover (Best Option)
A commercial adhesive remover is the fastest and safest way to clean off glue.
How to use:
- Apply a small amount to a microfiber cloth.
- Gently rub in circular motions over the sticky spots.
- Wipe clean with a fresh, damp cloth.
2. Soap and Ammonia Mixture (DIY Method)
A homemade mix of soapy water and ammonia can also break down the glue.
Steps to follow:
- Mix warm water, dish soap, and ammonia in a spray bottle.
- Spray the sticky areas and let it sit for 5–10 minutes.
- Wipe off the glue using a soft cloth or plastic scraper.
3. Rubbing Alcohol for Small Spots
If only tiny patches of glue remain, use rubbing alcohol on a cloth. It dissolves adhesive quickly without harming the glass.
Final Window Cleaning
Once all glue is removed:
- Use a glass cleaner to wipe the window.
- Buff with a microfiber cloth for a clear, streak-free finish.
- Check for any missed spots before moving on to the next window.
Pro Tip: Avoid using razor blades on rear windows, as they can scratch the defroster lines. Instead, use soft cloths and adhesive removers.
Alternative Methods for Removing Window Tint
Not everyone has access to a professional steamer. But that doesn’t mean removing window tint is impossible. Several other methods work well if done correctly. Below are three alternative techniques you can use.
Using a Heat Gun or Hair Dryer
How to Properly Apply Heat Without Damaging the Window
A heat gun or hair dryer can loosen the adhesive holding the tint. The key is to apply heat carefully. Too much heat can damage the window or melt surrounding materials.
Here’s the best way to do it:
- Gather your tools: You’ll need a heat gun (or a hair dryer), a razor blade, a cloth, and a cleaning solution.
- Start heating the tint: Hold the heat source a few inches from the window. Move it in circular motions. This spreads the heat evenly and prevents overheating one spot.
- Check the edges: After about 30 seconds, test a corner. If it lifts easily, you’re ready to peel.
- Peel slowly: Use a razor blade to lift one edge. Then, pull the tint off in a steady motion. If it resists, apply more heat.
- Remove leftover glue: Once the tint is off, use a cleaning solution and cloth to wipe away any adhesive.
🔹 Expert Tip: A heat gun works faster, but a hair dryer is safer. If you’re new to this, use a hair dryer to avoid overheating the glass.
Ammonia Solution Method
This method uses ammonia to break down the adhesive. It’s effective but requires patience. Always work in a well-ventilated area because ammonia has a strong smell.
Preparing the Ammonia Mixture
Mixing the right solution is crucial. Here’s how:
- What you need:
- Household ammonia
- Dish soap
- Spray bottle
- Plastic wrap
- Razor blade
- Gloves (for protection)
- Mixing the solution:
- Fill a spray bottle with equal parts ammonia and water.
- Add a few drops of dish soap to help break down the glue.
Covering the Tint with Plastic Wrap for Maximum Effect
Once you have the solution, follow these steps:
- Spray the tint generously. Make sure it’s fully soaked.
- Cover the window with plastic wrap. This traps the ammonia, keeping it from evaporating too quickly.
- Let it sit for at least 1 hour. If it’s sunny outside, park the car in direct sunlight to speed up the process.
Steps for Safe Removal
After soaking, it’s time to remove the tint.
- Peel the film: Start at one corner using a razor blade. The tint should come off easily.
- Reapply if needed: If it sticks, spray more ammonia and wait another 30 minutes.
- Clean the window: Once the film is off, wipe down the glass with warm, soapy water.
🔹 Expert Tip: Ammonia can damage car interiors. Cover door panels and seats with towels before spraying.
Manual Removal with a Razor Blade
If you don’t have access to heat or ammonia, you can still remove window tint with a razor blade. This method is slower but works well for small areas.
The Best Technique to Avoid Scratching the Glass
A razor blade can scratch the window if used incorrectly. Here’s how to do it safely:
- Use a fresh razor blade. A dull blade can leave streaks or gouges.
- Hold it at a shallow angle. Keep the blade almost flat against the glass. This prevents deep scratches.
- Work in small sections. Don’t rush. Peel slowly and gently.
- Keep the surface wet. Spray soapy water as you work to reduce friction.
🔹 Expert Tip: Never use a dry razor blade on glass. Always keep the surface moist to prevent scratching.
Cleaning the Window Afterward for a Spotless Finish
After removing the tint, some glue will remain. To clean it:
- Use an adhesive remover or rubbing alcohol. Apply it to the glass and let it sit for a minute.
- Wipe with a microfiber cloth. This prevents streaks.
- Polish with glass cleaner. Finish by wiping the window with a clean, dry cloth.
Removing window tint doesn’t have to be hard. Whether you use heat, ammonia, or a razor blade, patience is key. If a method isn’t working, don’t force it. Applying more heat or letting the solution sit longer can make the job easier.
If you’re unsure about doing it yourself, a professional tint shop can handle it quickly. But if you follow these steps, you’ll save money and get great results.
When to Seek Professional Help for Window Tint Removal
Removing window tint at home can save money. However, sometimes DIY methods do not work as planned. The adhesive might be too strong, or the tint could tear into small pieces, making removal difficult. In some cases, using too much force can damage the window or defroster. If you notice any of these issues, it may be time to seek professional help.
Signs That DIY Tint Removal Isn’t Working
Not every window tint is easy to remove. Some films are old, brittle, or applied with a strong adhesive that resists peeling. If you encounter these problems, consider getting expert help:
- Tint keeps tearing – If the film does not come off in large pieces, removal will take much longer. Small, stubborn pieces can be frustrating to remove.
- Sticky residue remains – Strong adhesives can leave behind a thick layer of glue. If basic cleaners do not work, a professional will have stronger, safer solutions.
- Defroster lines are at risk – Rear window defrosters can be damaged if you scrape too hard. Professionals know how to remove tint without harming these delicate lines.
- Scratches or damage appear on the glass – Using the wrong tools or too much pressure can scratch the window. If you see any damage, stop immediately.
- Chemical methods are not working – Ammonia-based solutions or adhesive removers may not always be effective. Some window films require special treatments to dissolve the glue properly.
- Windows look cloudy or streaked – After removing the tint, if the glass is not crystal clear, it may need professional cleaning to restore its original look.
If you notice one or more of these signs, professional removal may be the best option.
Benefits of Hiring a Professional Tint Removal Service
Tint removal experts have years of experience handling different types of window films. They use the right tools, products, and techniques to ensure a smooth process. Here’s why hiring a professional can be a smart choice:
1. Prevents Damage
Experts know how to remove tint without harming your windows. They avoid excessive scraping, reducing the risk of scratches or damage to defroster lines.
2. Saves Time and Effort
A professional can remove window tint in a fraction of the time it takes to do it yourself. Instead of spending hours scraping and peeling, you can get the job done quickly and efficiently.
3. Uses Specialised Tools and Products
Professionals have access to commercial-grade steamers, chemical removers, and adhesive dissolvers. These products work faster and more effectively than most DIY solutions.
4. Ensures a Clean Finish
DIY methods often leave streaks, glue residue, or uneven patches. A professional will make sure your windows are spotless and streak-free after removing the tint.
5. Provides a Warranty
Many reputable shops offer a guarantee for their work. If any issues arise, they will fix them without extra cost. This adds peace of mind that the job is done right.
6. Handles Difficult Cases
Some cars have multiple tint layers or high-quality films that are difficult to remove. Experts have experience with all kinds of window tints and know the best approach for each type.
Tips for Choosing a Reputable Tint Removal Shop
If you decide to get professional help, choosing the right shop is important. Not all businesses offer high-quality service. Follow these steps to find a trusted expert:
🔎 Research Local Shops
Start by looking for tint removal services in your area. Search online, check reviews, and ask for recommendations from friends or family.
📜 Check Certifications and Experience
A reliable shop should have certified technicians with experience in tint installation and removal. Ask how long they have been in business and what techniques they use.
💬 Read Customer Reviews
Look for reviews on Google, Yelp, or other trusted platforms. Pay attention to comments about professionalism, efficiency, and customer satisfaction.
💰 Request a Quote
Different shops may charge different prices. Ask for an estimate before agreeing to the service. A fair price should include labour, tools, and any extra cleaning required.
🛠️ Ask About Their Process
A reputable shop should explain their method clearly. They should describe the tools they use and how they protect your windows and defrosters.
🔒 Verify Licensing and Insurance
Make sure the shop is licensed and insured. This protects you if anything goes wrong during the tint removal process.
⏳ Check Their Warranty Policy
A good shop will offer a warranty on their work. This ensures that if any problems arise after the tint is removed, they will fix them for free.
Final Thoughts
If your window tint is difficult to remove, or if you are worried about damaging your car, hiring a professional is the best solution. An expert will remove the tint quickly and cleanly, leaving your windows looking as good as new.
Before choosing a service, do your research, compare prices, and check customer reviews. This will help you find a professional who offers quality work at a fair price.
For more car care tips and expert advice, check out our other automotive maintenance guides. 🚗✨
Related Articles You May Like
📌 How to Maintain Your Car’s Windows
📌 Best Ways to Improve Car Visibility in Winter
📌 Signs Your Car Needs a New Windshield
Conclusion: Recap of key takeaways on How to Remove Tinted Windows from a Car: A Step-by-Step Guide
Window tint can enhance privacy, reduce glare, and keep your car cooler. However, over time, it may fade, bubble, or peel, making removal necessary. While removing window tint might seem challenging, the right approach makes it manageable. This expert guide will walk you through the best methods to remove window tint from your car, ensuring a clean and damage-free process.
Why You Might Need to Remove Window Tint
There are several reasons why removing window tint is necessary:
- Fading and Bubbling: Over time, tint can lose its colour or develop air bubbles, affecting visibility.
- Legal Compliance: Some regions have restrictions on tint darkness, requiring removal to avoid fines.
- Poor Installation: Badly applied tint may peel or create distortion.
- Change of Preference: You might simply want a clearer view or a different tint shade.
Regardless of the reason, this guide will help you remove window tint without damaging your car’s glass or defroster lines.
Tools and Materials You’ll Need
Before starting, gather these supplies:
✅ Steamer or Heat Gun – Loosens the adhesive for easier removal.
✅ Razor Blade or Plastic Scraper – Helps lift the tint film.
✅ Ammonia-Based Cleaner – Softens leftover adhesive.
✅ Soapy Water Solution – A gentler alternative for residue removal.
✅ Microfiber Cloths – Prevents scratching during cleanup.
✅ Gloves & Mask – Essential for handling ammonia-based solutions safely.
Best Methods to Remove Window Tint
Method 1: Using a Steamer (Recommended)
A steamer is the most effective way to remove window tint without leaving stubborn residue.
Step-by-Step Process
- Roll Down the Window Slightly
- This exposes the film’s edge, making removal easier.
- Apply Steam to the Tint
- Hold the steamer 3-5 inches from the window and move it slowly.
- Focus on one section until the adhesive softens.
- Lift a Corner with a Razor Blade
- Carefully pry up a corner without scratching the glass.
- Once you lift the edge, start peeling.
- Slowly Peel Off the Tint
- Pull evenly and slowly to prevent tearing.
- If resistance is high, apply more steam.
- Remove Leftover Glue
- Wipe the glass with ammonia cleaner or soapy water.
- Use a scraper if needed but be gentle.
🔹 Expert Tip: Always steam inside and outside the glass for the best results.
Method 2: Hair Dryer or Heat Gun
If you don’t have a steamer, a heat gun or hair dryer can work too.
- Heat the Tint in Circular Motions – Keep the dryer 3-4 inches from the window.
- Lift the Edge with a Razor Blade – Be gentle to avoid scratching.
- Peel Off the Tint Slowly – Heat as needed to loosen stubborn spots.
- Remove Any Residue – Wipe with an adhesive remover or ammonia solution.
Method 3: Ammonia & Plastic Wrap (For Stubborn Tint)
This method works best for older tint that won’t peel off easily.
- Spray Ammonia on the Tint
- Use a spray bottle to coat the tint evenly.
- Cover the Window with Plastic Wrap
- This traps heat and speeds up adhesive breakdown.
- Wait for 1-2 Hours
- Let the ammonia soften the glue.
- Peel Off the Tint
- Start from a corner and pull gently.
- Clean the Window
- Use a soap and water mix to wipe away residue.
🔹 Safety Note: Wear a mask and work in a well-ventilated area when using ammonia.
Method 4: Razor Blade & Soapy Water (For Small Windows)
For smaller windows, a razor blade and soapy water may be enough.
- Spray the Tint with Soapy Water
- Use a Razor Blade to Lift a Corner
- Peel Off the Film Carefully
- Scrape Away Any Glue Residue
- Wipe the Window Clean
🔹 Expert Tip: Always use a new razor blade to prevent scratches.
When to Seek Professional Help
If your tint is particularly stubborn or your car has defroster lines, professional removal might be the best option. Experts use special techniques to ensure your rear window defroster remains intact.
Signs You Need a Professional:
- Heavily deteriorated tint that rips into small pieces.
- Multiple layers of old tint making removal complex.
- Rear windows with defroster lines that you don’t want to risk damaging.
To find a reputable shop, check reviews, ask about their process, and ensure they use non-damaging techniques.
Post-Removal Window Care
Once the tint is removed, follow these steps to restore your windows to a like-new condition:
- Clean the Glass Thoroughly – Use glass cleaner to remove any smudges or residue.
- Check for Scratches – Inspect the surface carefully under bright light.
- Decide on a New Tint (If Needed) – If reapplying tint, choose a high-quality film for better longevity.
Frequently Asked Questions (FAQs)
1. Can I remove window tint with just soap and water?
Yes, but it works best for small windows or very old tint that is already peeling.
2. Will removing tint damage my defroster?
If done incorrectly, yes. Always peel slowly and avoid aggressive scraping.
3. How long does window tint removal take?
- With a steamer: 15–30 minutes per window.
- Using a heat gun or ammonia: 30–60 minutes per window.
4. Can I use alcohol to remove tint glue?
Yes, isopropyl alcohol can help remove adhesive, but ammonia-based cleaners work faster.
5. Is professional removal worth it?
If your tint is severely damaged or attached to a defroster, hiring a professional prevents costly mistakes.
Conclusion
Removing tinted windows from your car doesn’t have to be a frustrating task. With the right method—whether using a steamer, heat gun, ammonia, or a simple razor blade—you can achieve a clean, residue-free finish.
- For quick and easy removal, a steamer works best.
- If you don’t have a steamer, try a heat gun or ammonia solution.
- For delicate defroster lines, consider professional tint removal.
By following these expert steps, you can successfully remove your window tint and restore your car’s clear visibility and sleek appearance. 🚗✨